R/C Car Project #1 - Nikko - Acura NSX - Fast and the Furious Edition (Part 1)
I decided I wanted to play with some "Toy" R/C cars from my childhood days. Being from the 1990's, I knew that anything from back then was built tough (vs todays standards) and totally under powered due to how much technology has advanced since then. I mean c'mon high end Hobby grade R/C cars were using NiCd Rechargeable battery packs. NiHM wasn't even really a thing yet.. let alone the LiPo battery cells that power everything today from IOT devices to Actual Cars. Back then "Toy" grade R/C's were either powered by AA Alkaline or if you were lucky a NiCd battery pack for the more expensive ones.
So, I went shopping on eBay to find some Vintage "Toy" R/C cars.
This actually isn't true, I went on eBay to find some RC cars from my childhood and quickly discovered they were all classified as "Vintage" and "Collectors Items". So not only does it hurt to admit I'm now that old 🥲 but also.. I'm very much going to upset some people with these modifications.. Oh well LOL!
First car I found was this one (image is from original listing on eBay)
Brand: Nikko - Usually referred to as the house brand of RadioShack, at least within the USA.
R/C Car Model: Acura NSX - Fast and the Furious Edition
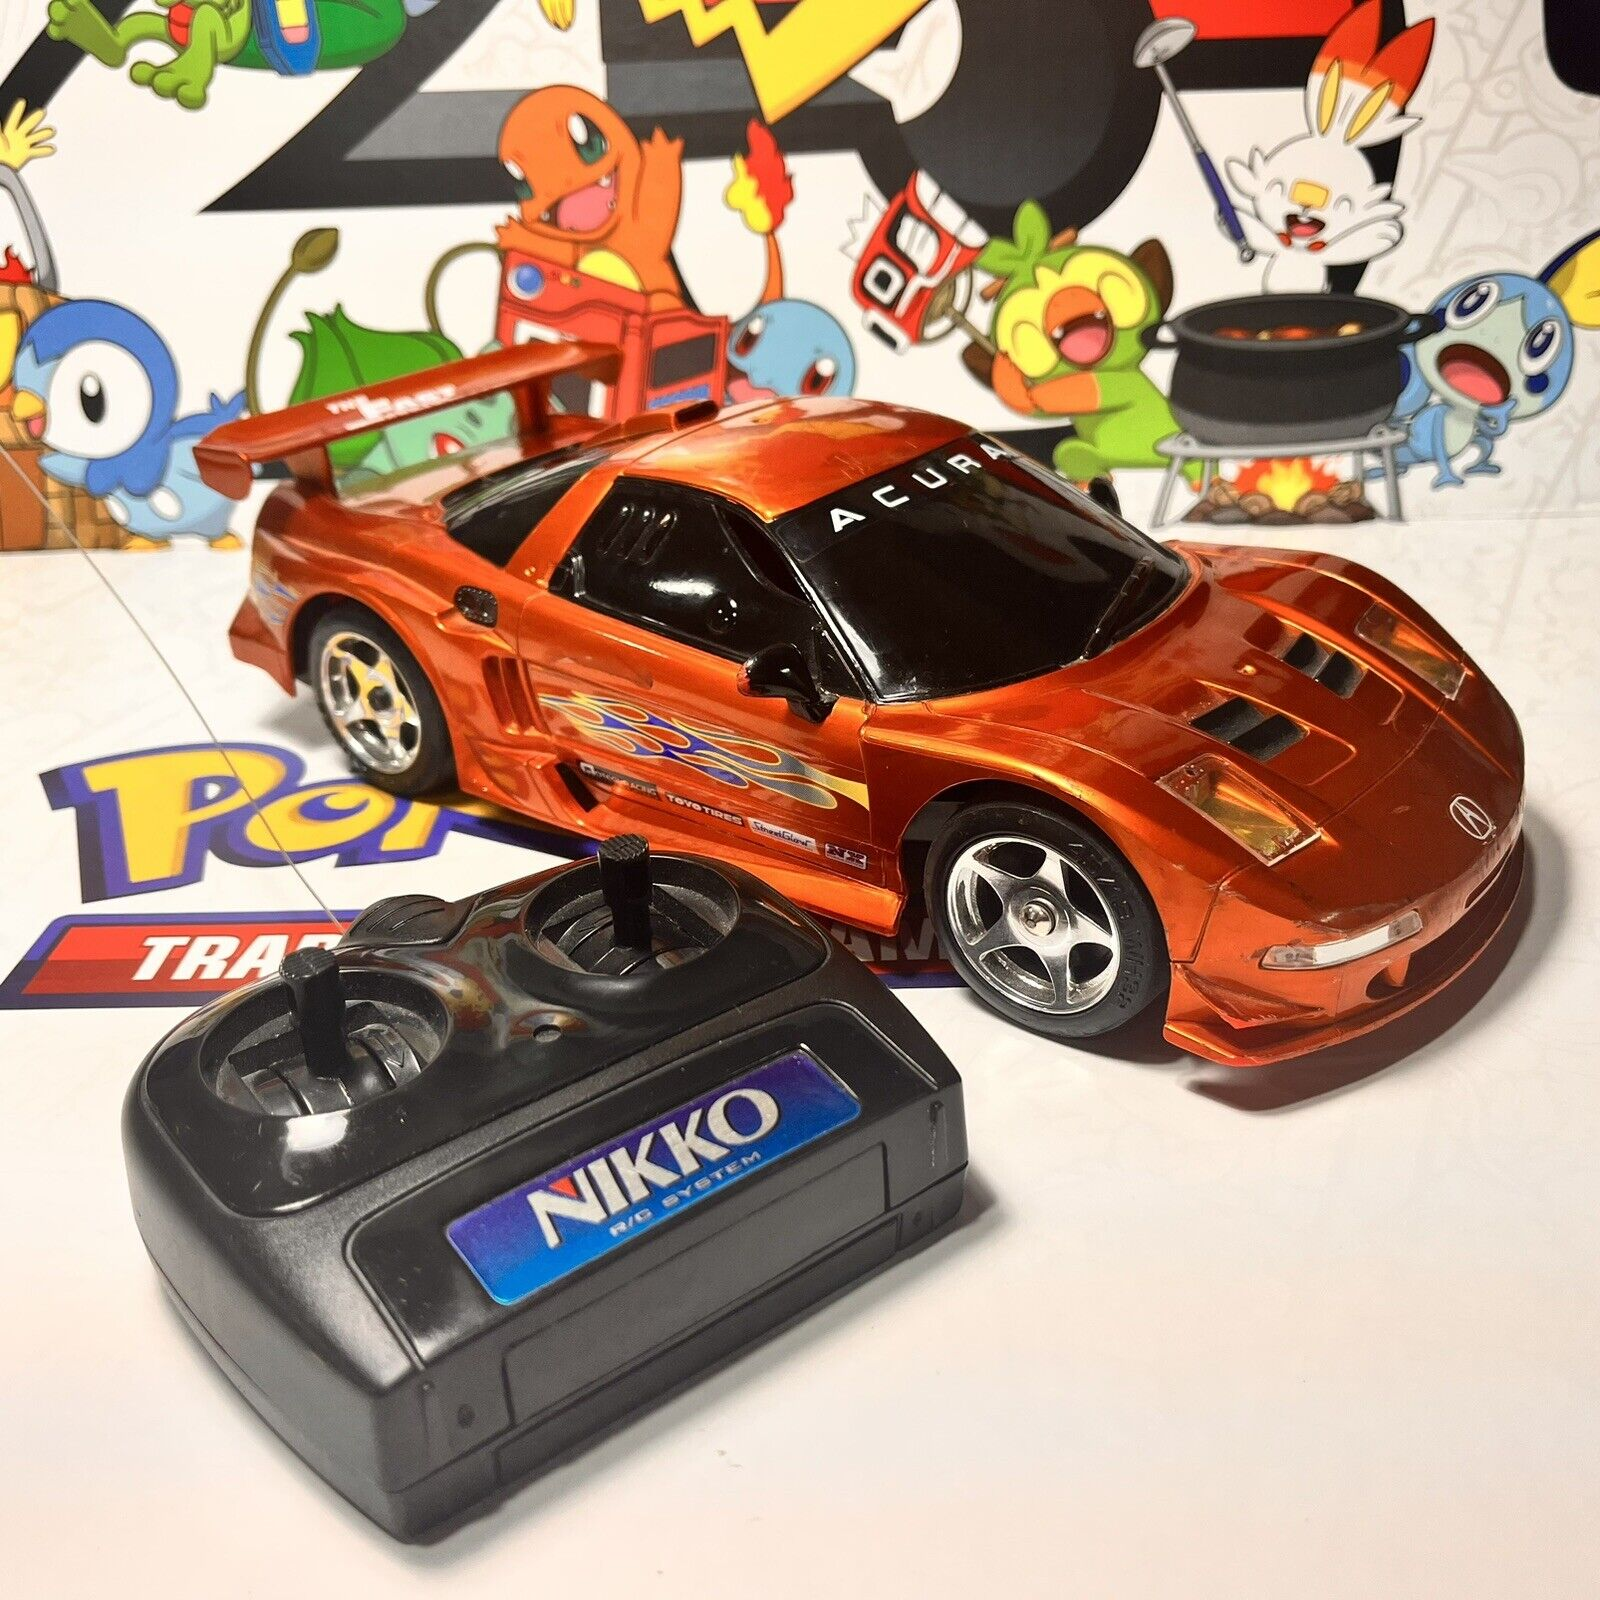
The eBay description noted this car as having battery corrosion damage in the car, but the controller appeared to be fine/clean.
Considering the goals I had in mind for this R/C car the issues were a non-issue for me.
So I bought it. But once I received it I did an inspection and found it interesting that there appeared to be other issues either with the controller or the car ESC itself. (Seller didn't claim it was a running R/C so no worries)
After cleaning up the battery contacts inside the R/C car, I confirmed the car would still not respond. No wheel movement in the back and no steering either. Neither the R/C car or the controller had any sort of "power on" LED or indicator besides the power switch on the car being flipped to the "On" position. Either way this does not matter to me because the stock ESC and controller were not important to my project plans. I was going to rip these out and discard them even if they did work.
Voltage checks later would proved that I was getting expected voltage from the battery storage area so there was indeed something else wrong...
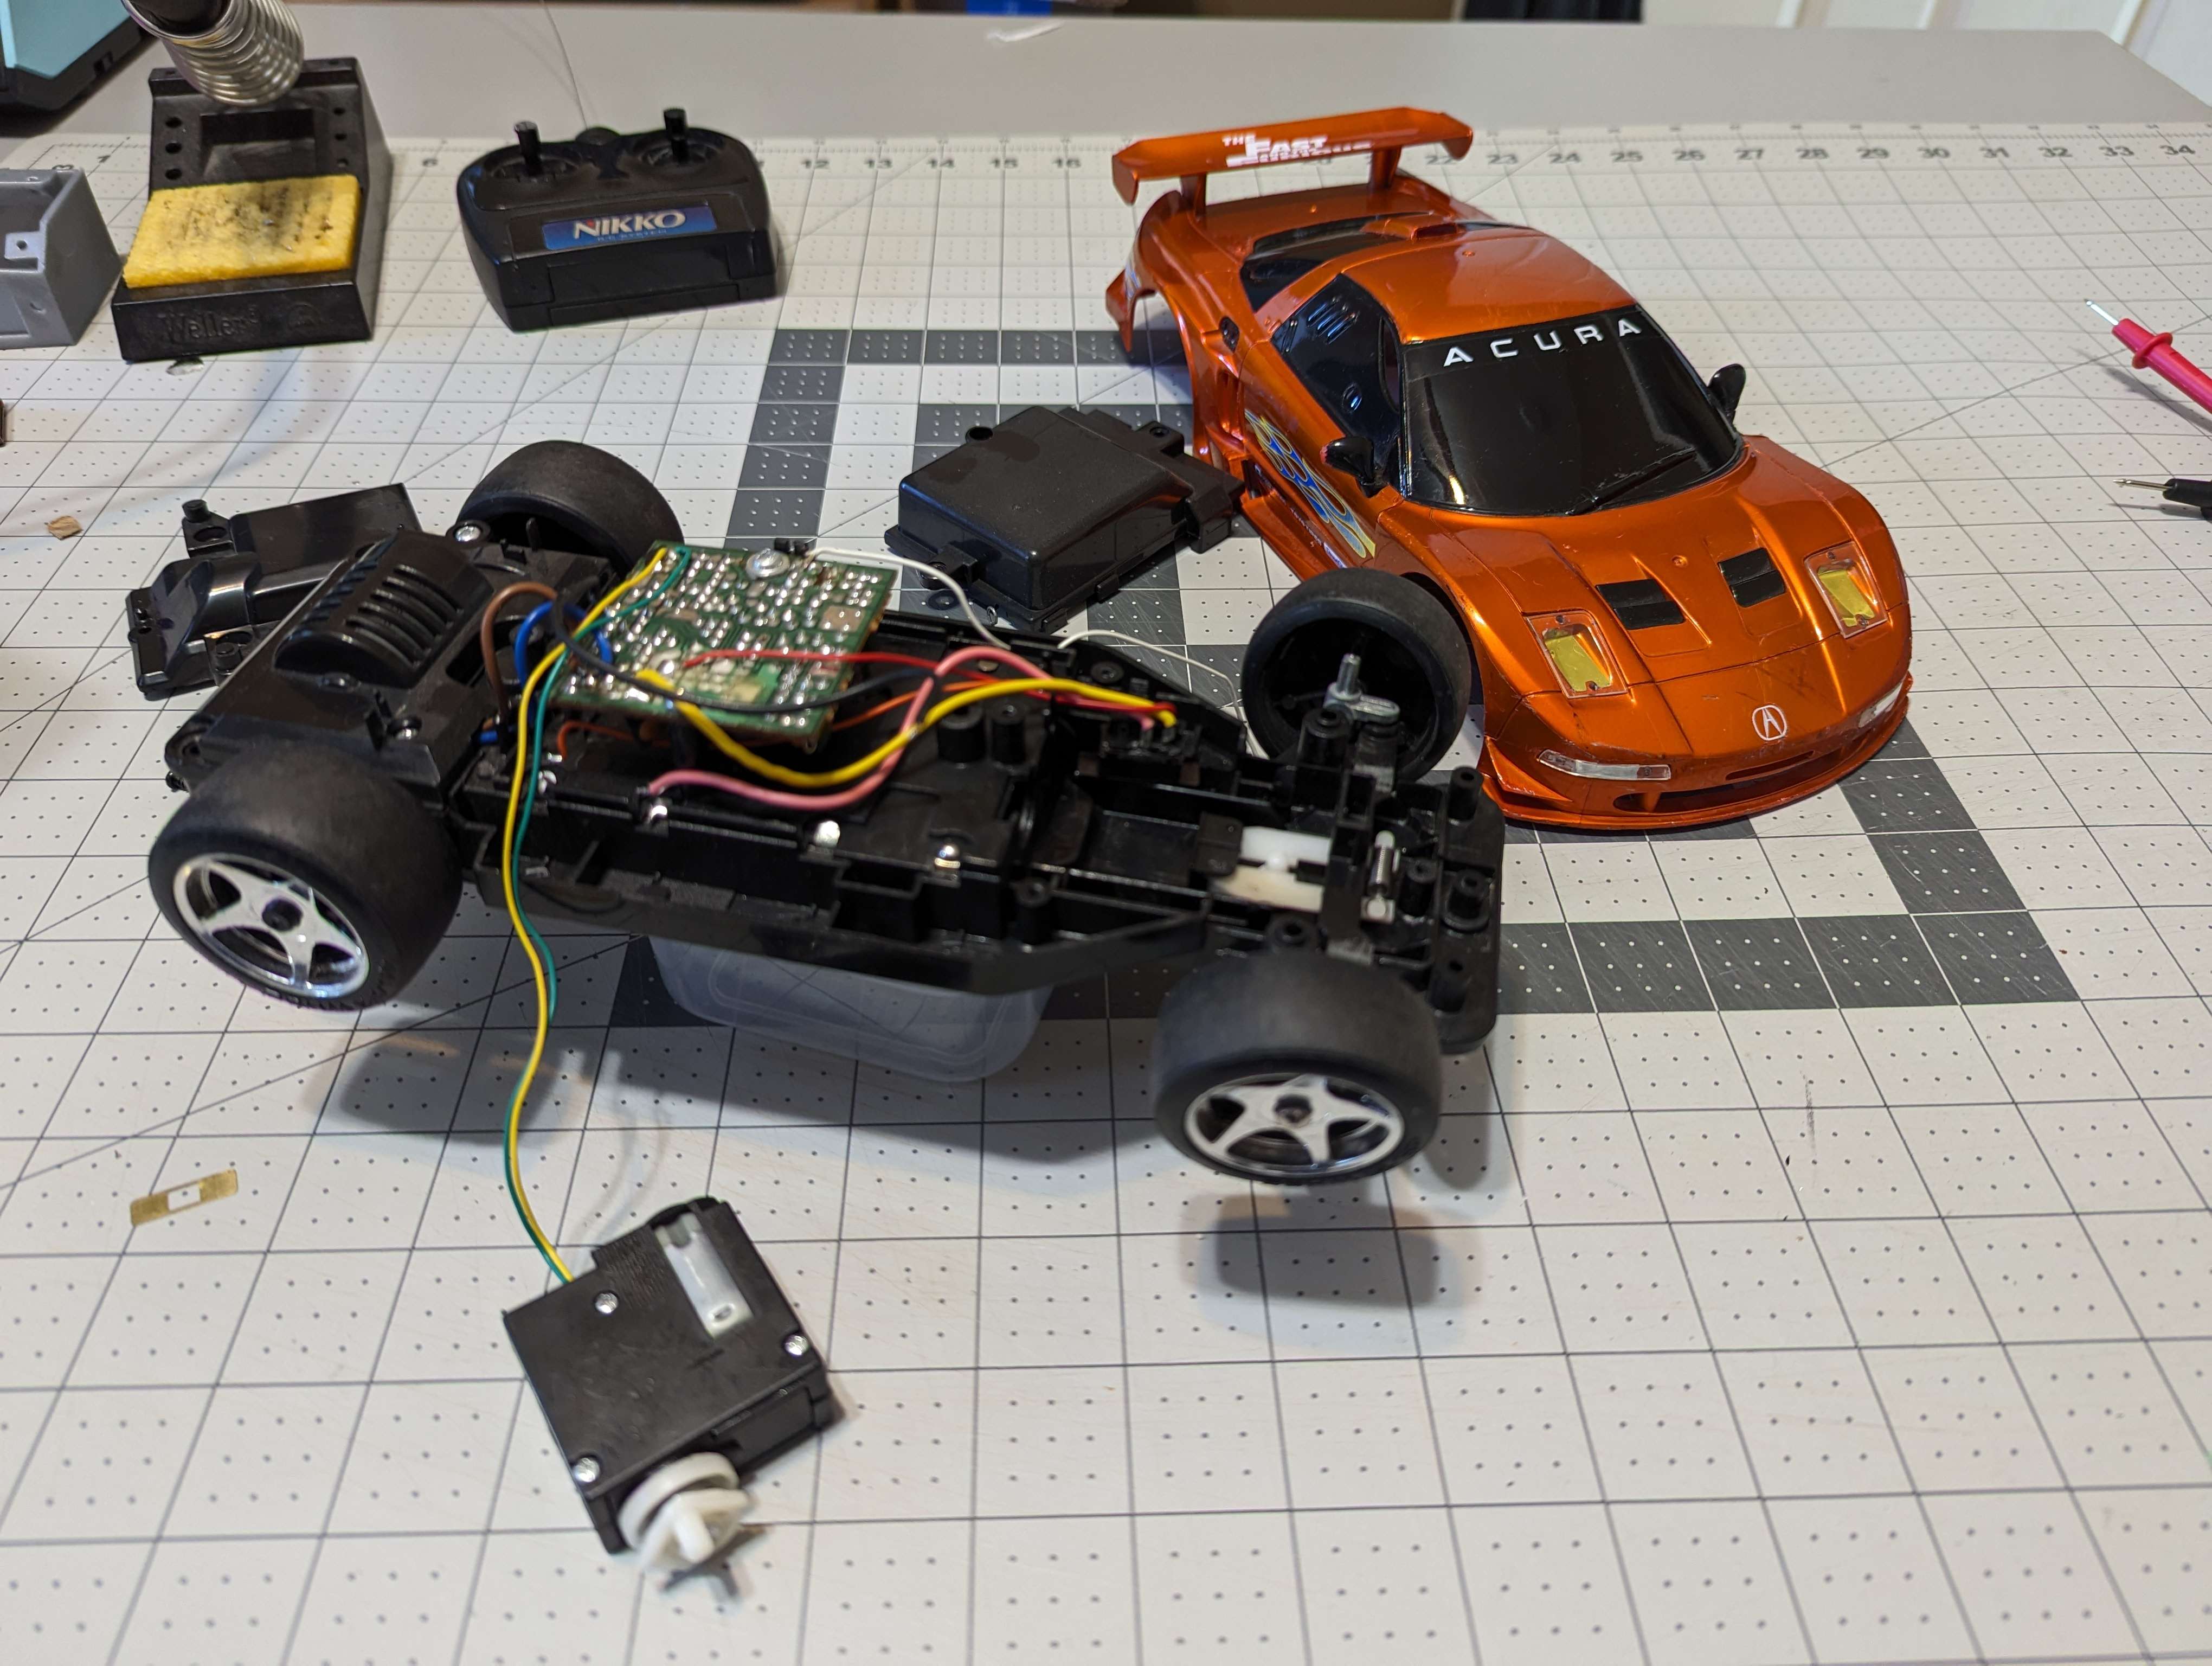
Taking the body off the R/C car I found an all-in-one board for the receiver and ESC. This is something that is very common for Toy grade R/C's even today.

Well, this was interesting to see. There appears to be a DC brushed motor in the front? As far as I can tell its not an all-wheel drive R/C car... Is that for the steering??? Also that's a lot of wires going to the power switch...

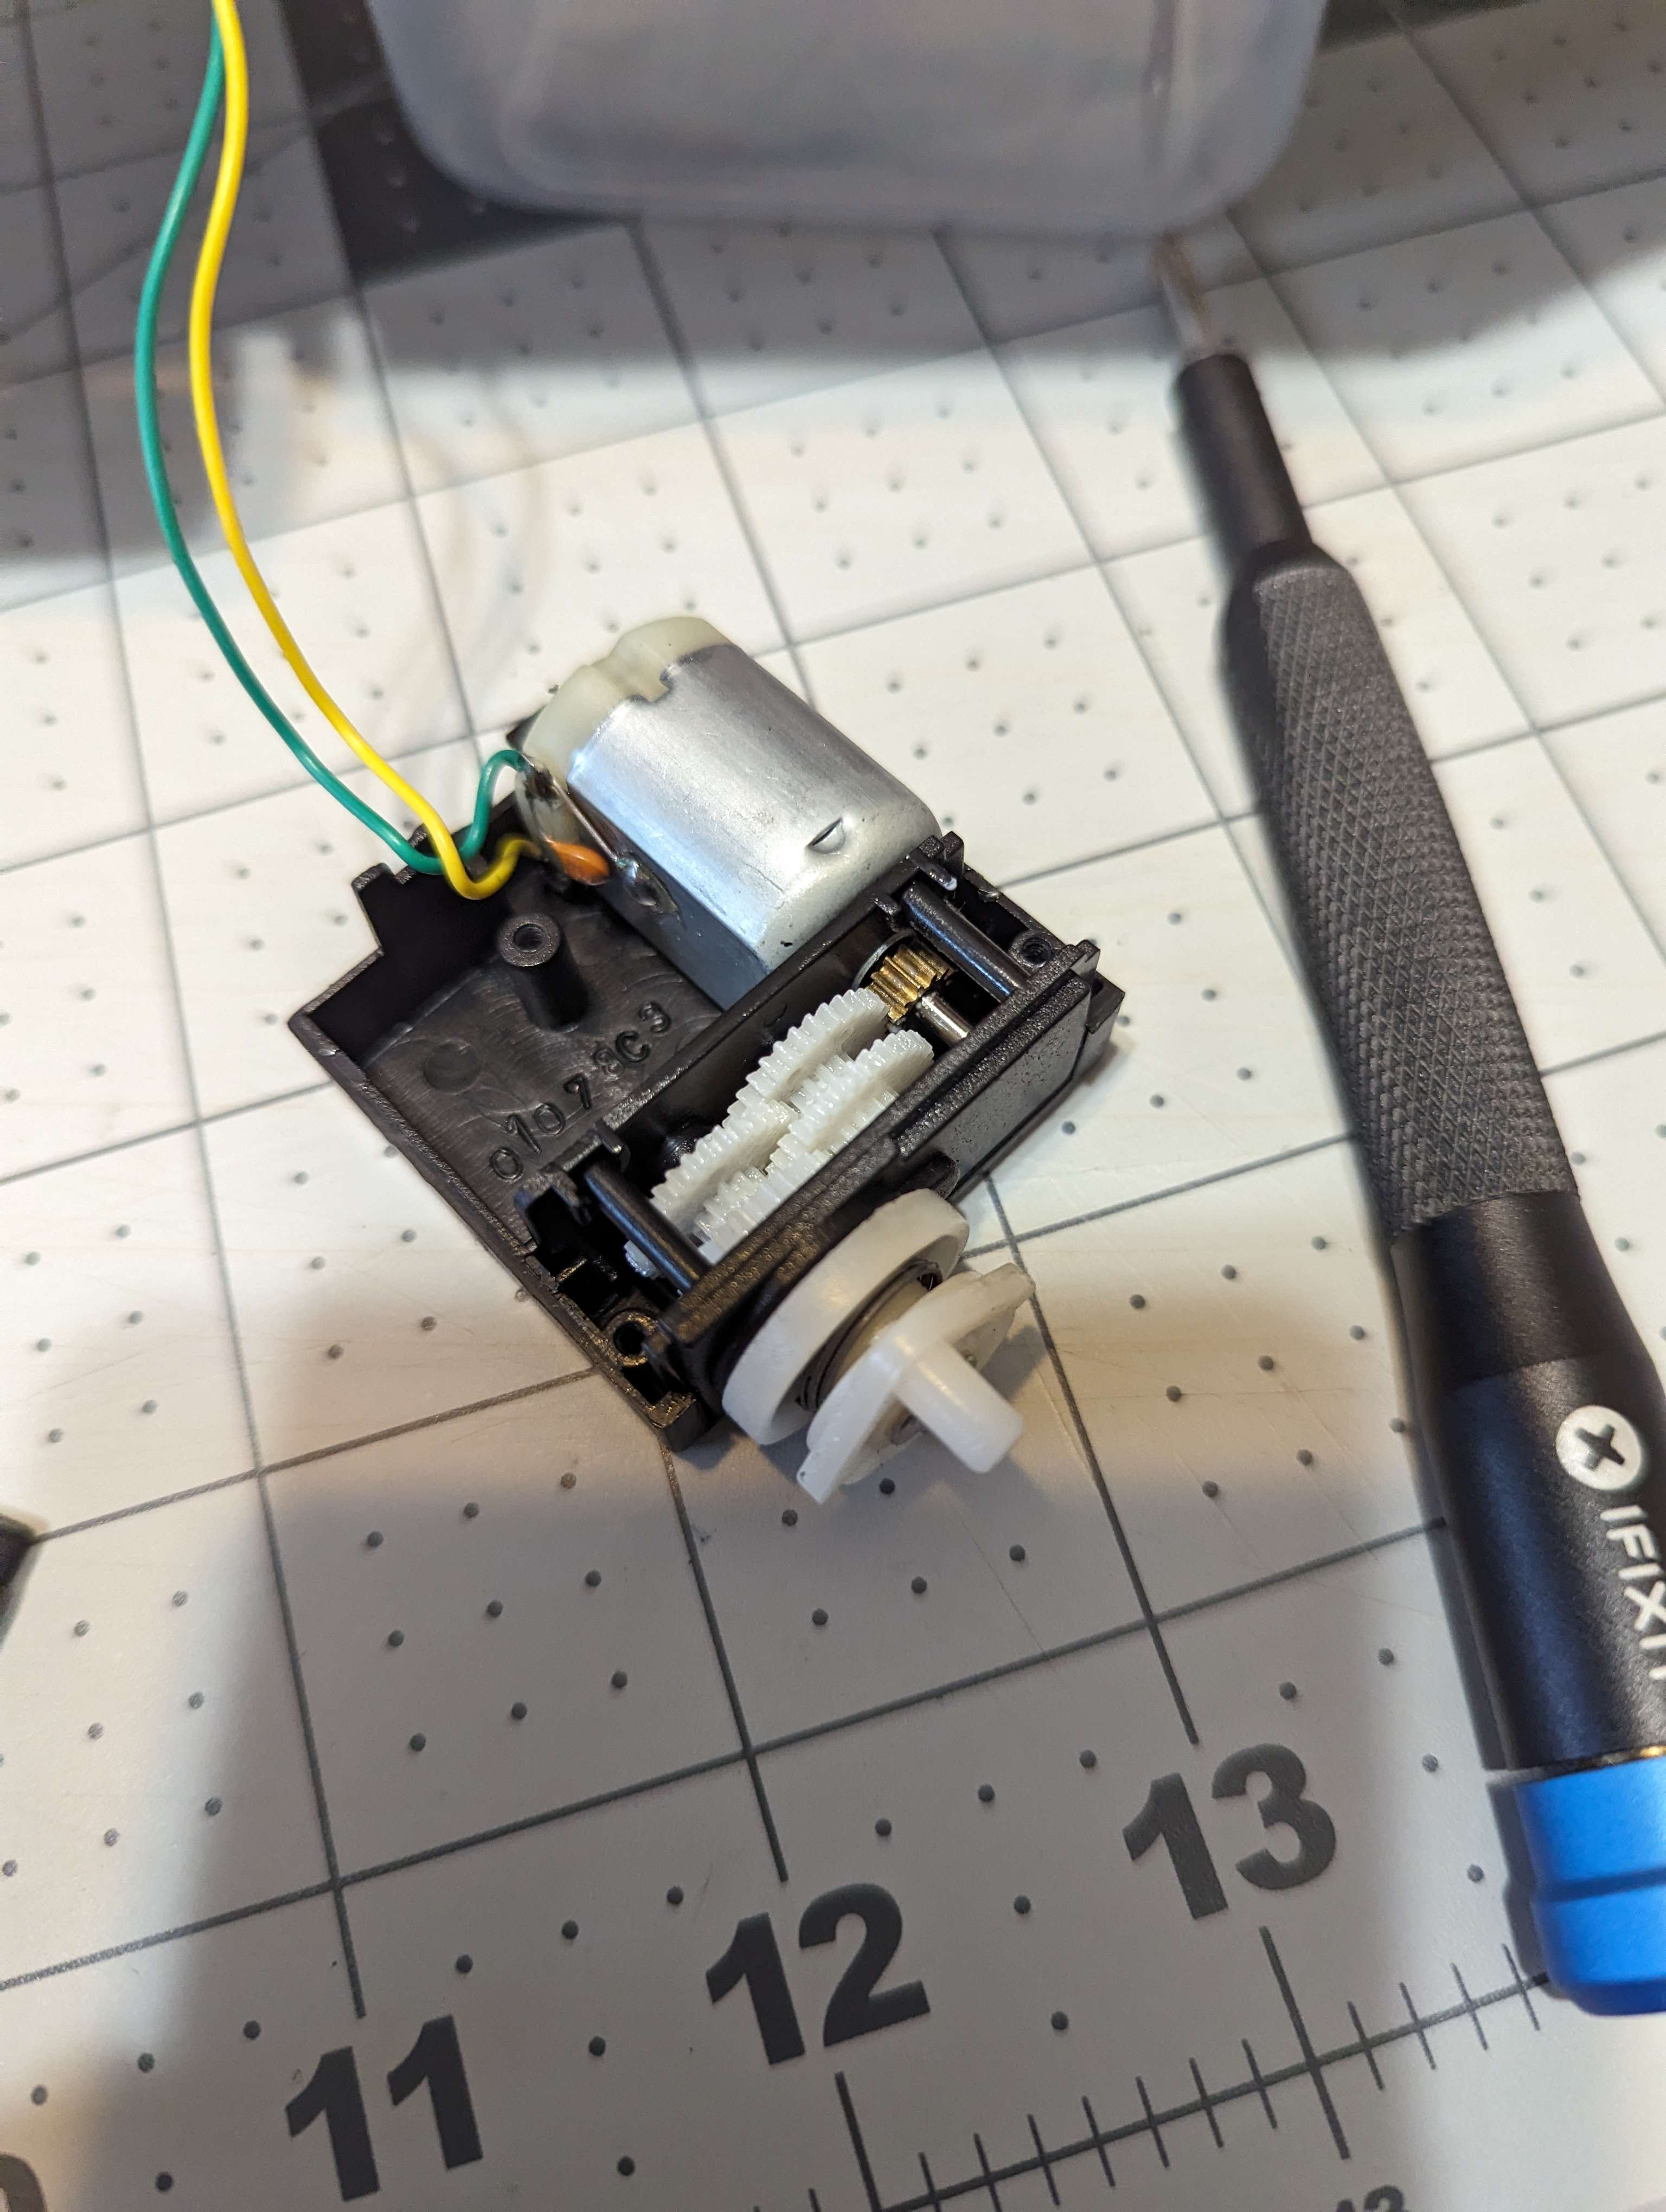
Took out a few more screws in the cover in the front section and found out this motor is part of a sub assembly that appears to be part of the steering for the R/C car?
Well look at that... Its a DC motor powered gear box... which appears to act as a servo.. wow things have changed since then... Hey it even features a "Servo saver"!
Well this was an interesting find..
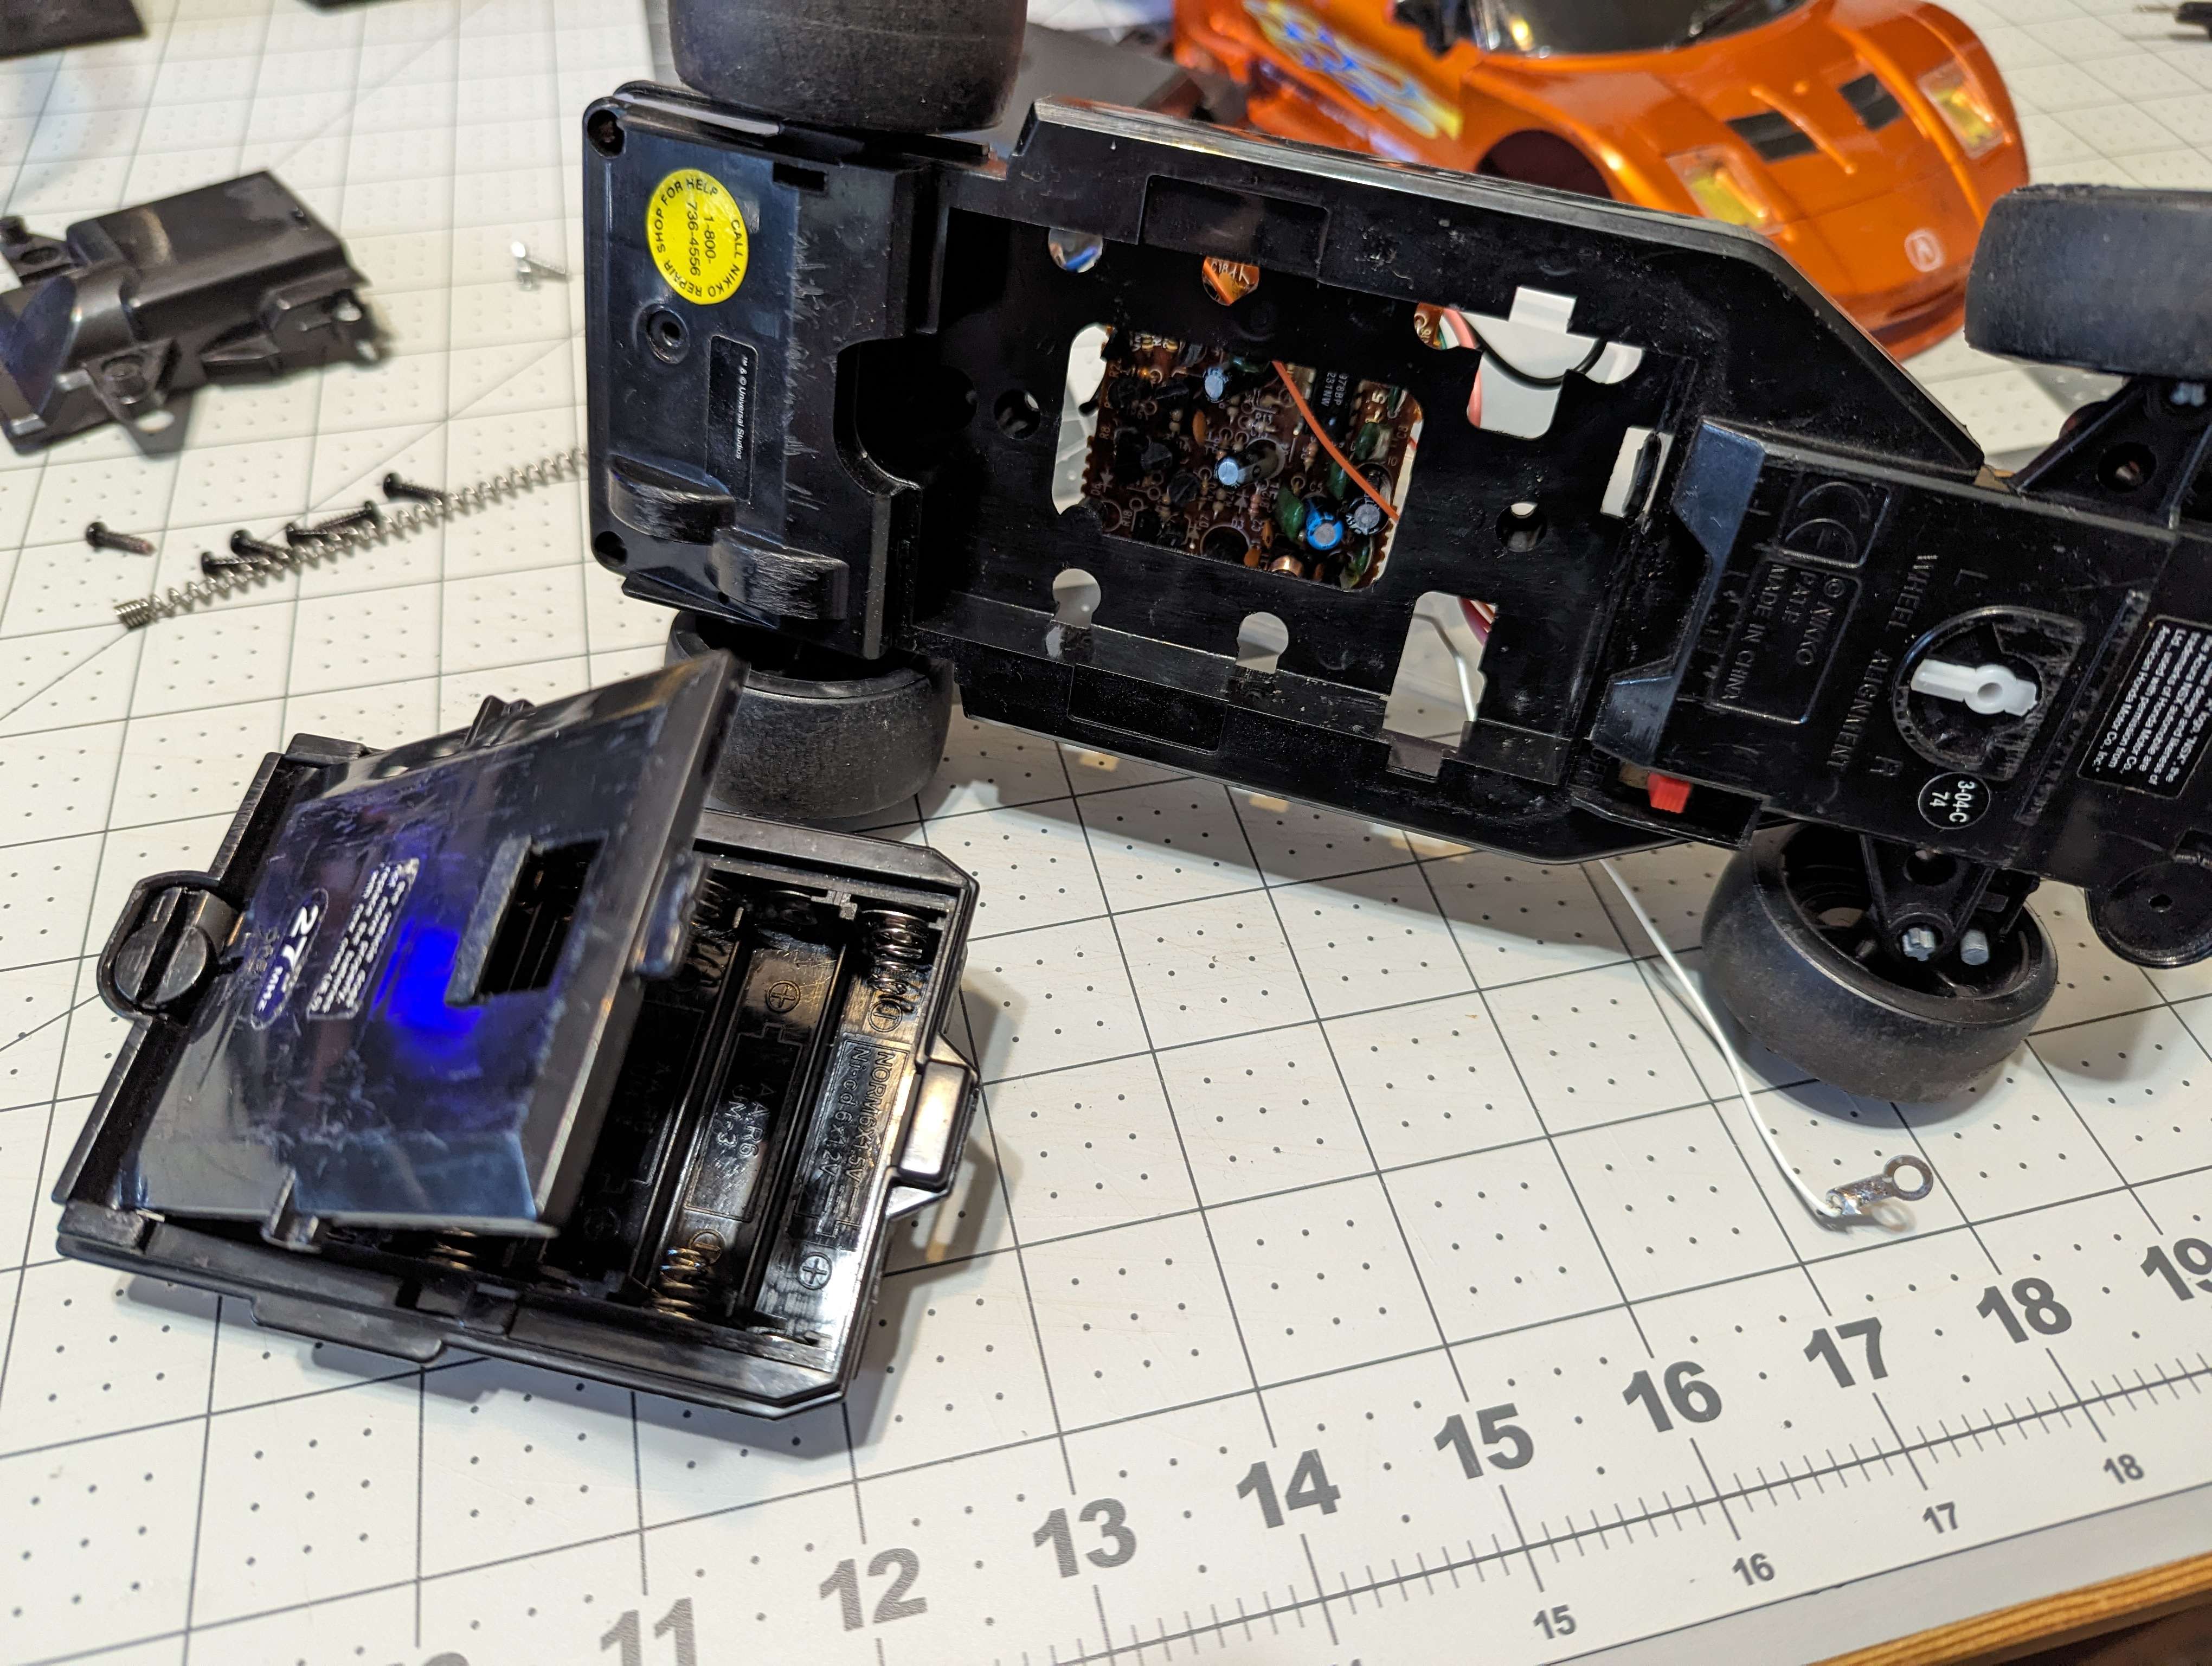
After removing 2 more screws and de-soldering some wires... The battery storage area came out of the car as a module or sub-assembly. After speaking with a friend of mine, it appears this car (chassis) was at some point also available with a rechargeable battery pack vs AA battery tray so maybe that's why.. It would make manufacturing cheaper if Nikko only had to change the battery tray module to make it a higher end R/C car.
Alright, time to get to making this car usable for some fun bashing sessions.
First thing I will be replacing is the the electronics in this R/C car.
As I wasn't comfortable with sorting out how to control a DC motor "servo" in this project my first goal will be to replace it with an off the shelf servo from Amazon. This means I will need to replace the front cover with something a bit more functional for my needs.
Let the CAD modeling and 3D printing begin.
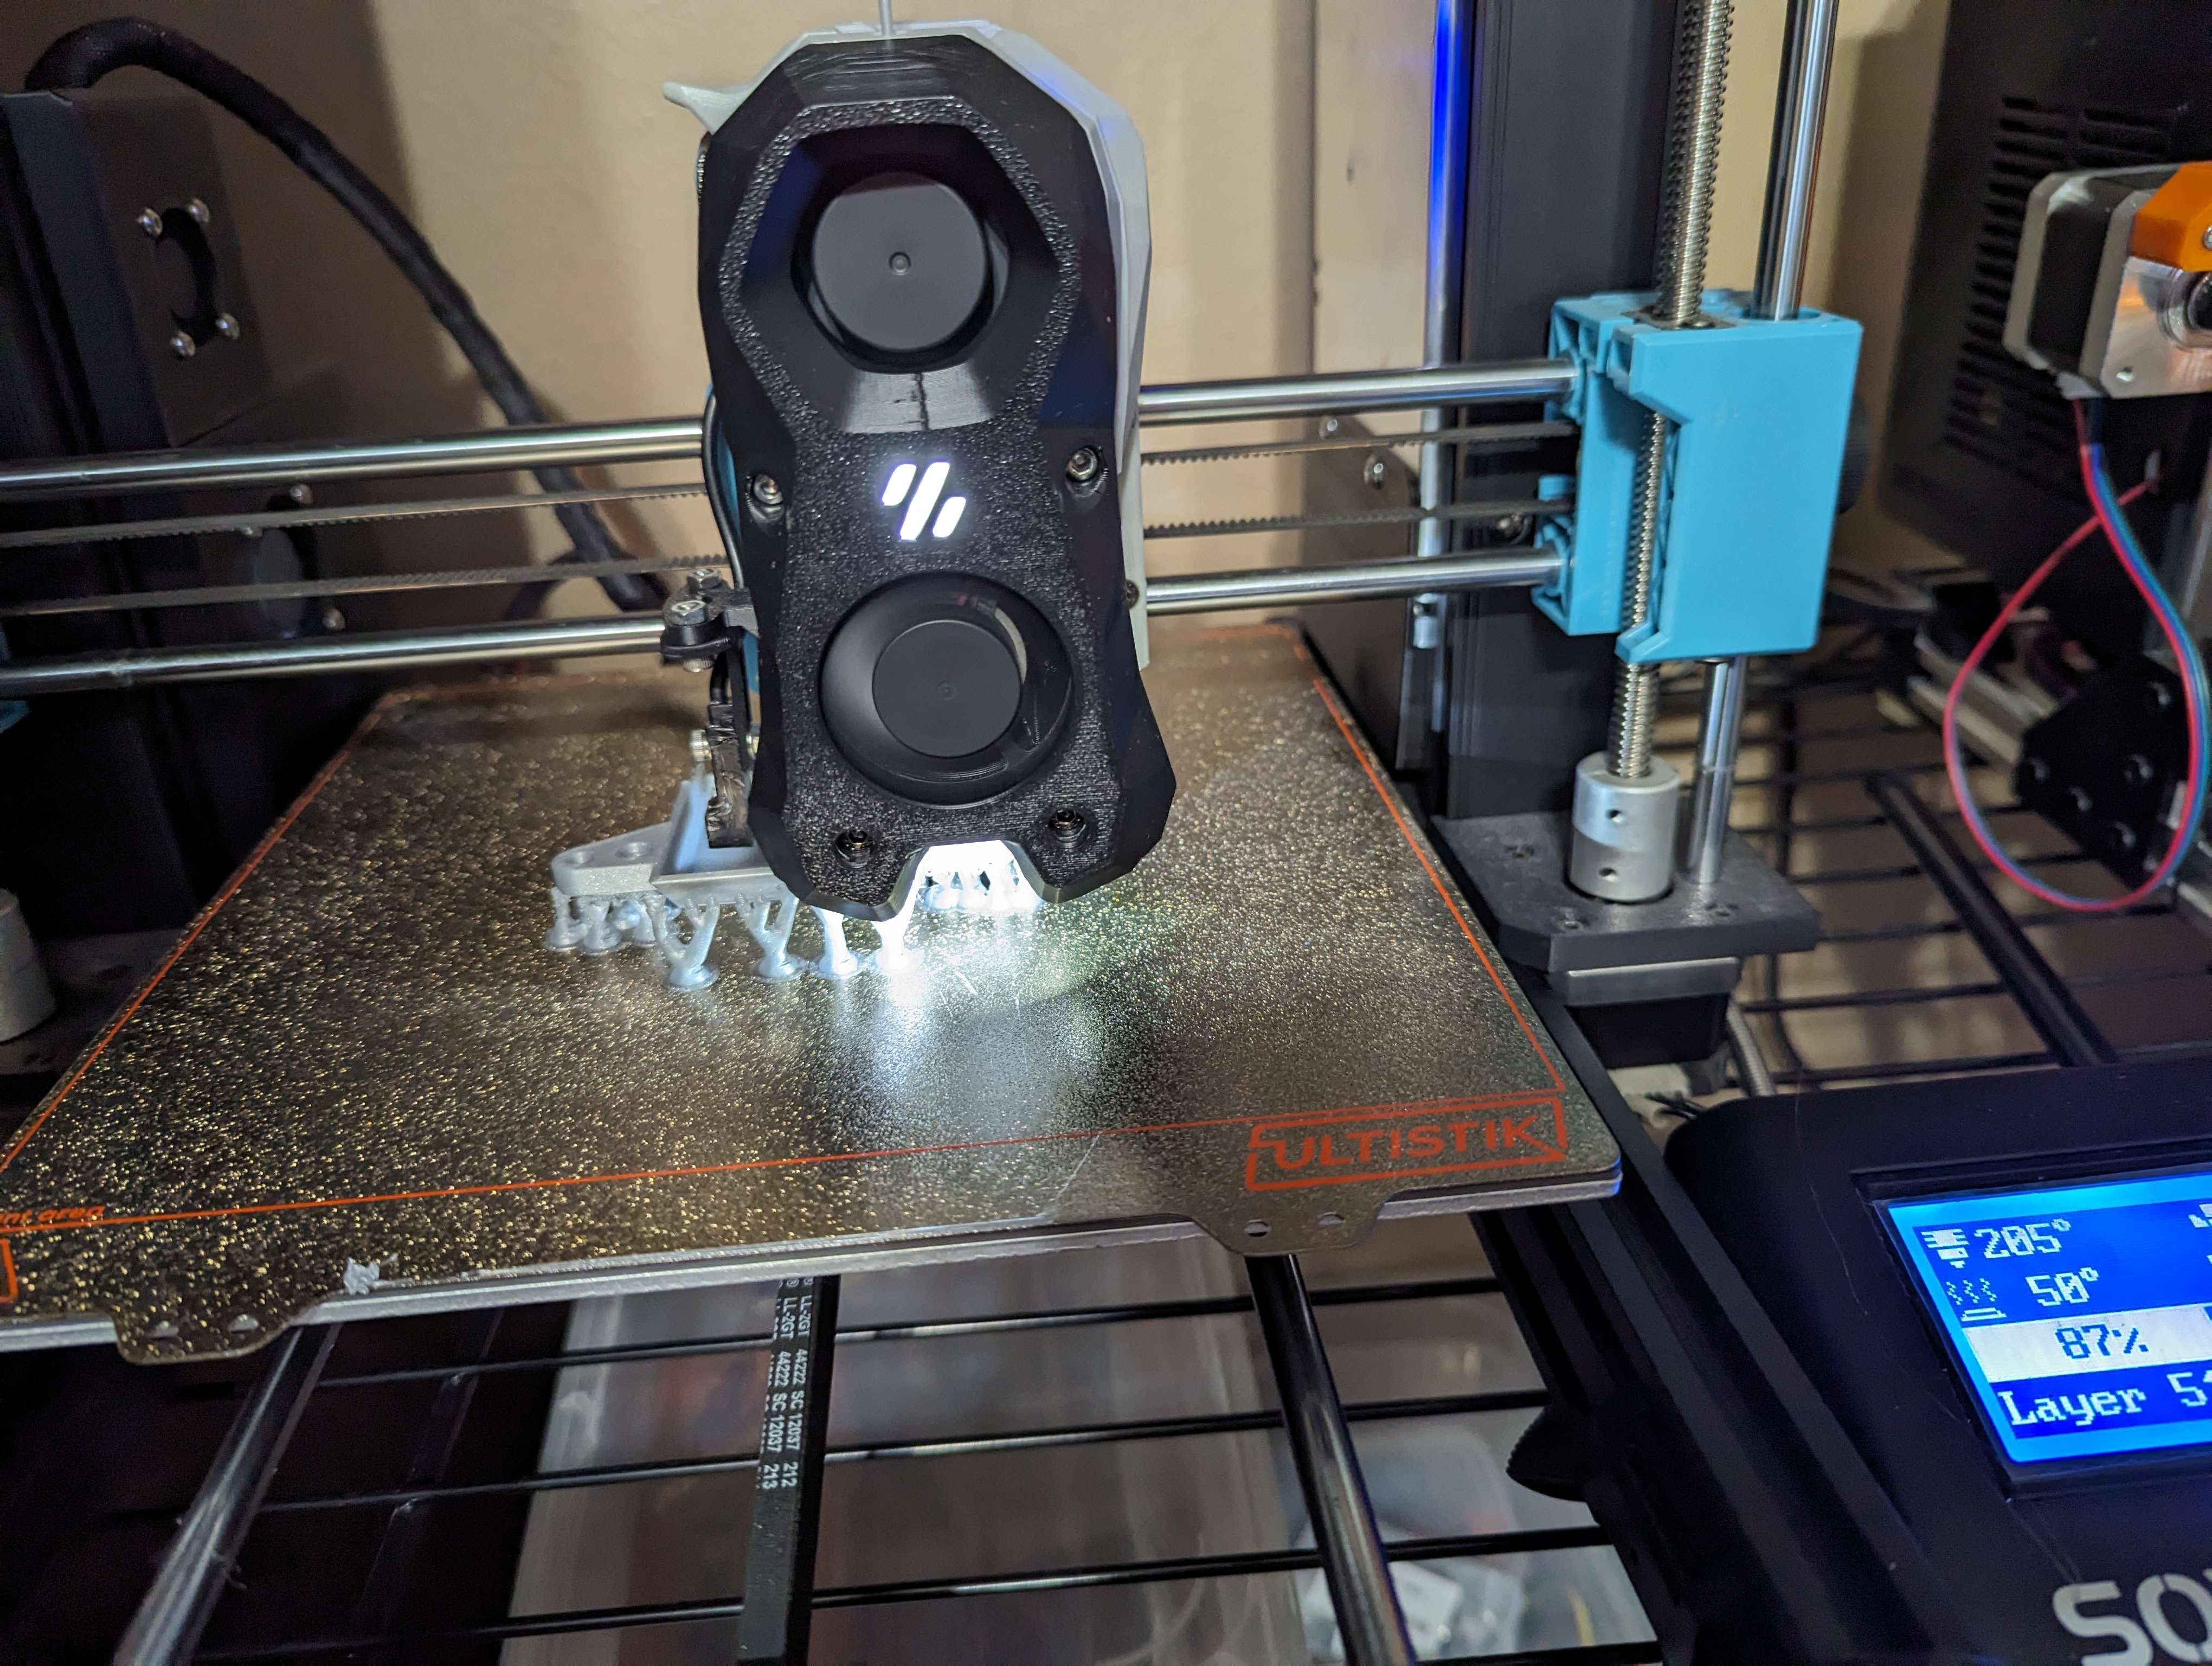
I fired up Solidworks and modeled up some prototype designs and printed them out on my heavily modded Sovol SV06. It would later take me ALOT more revision iteration to come up with the cover I was happy with.
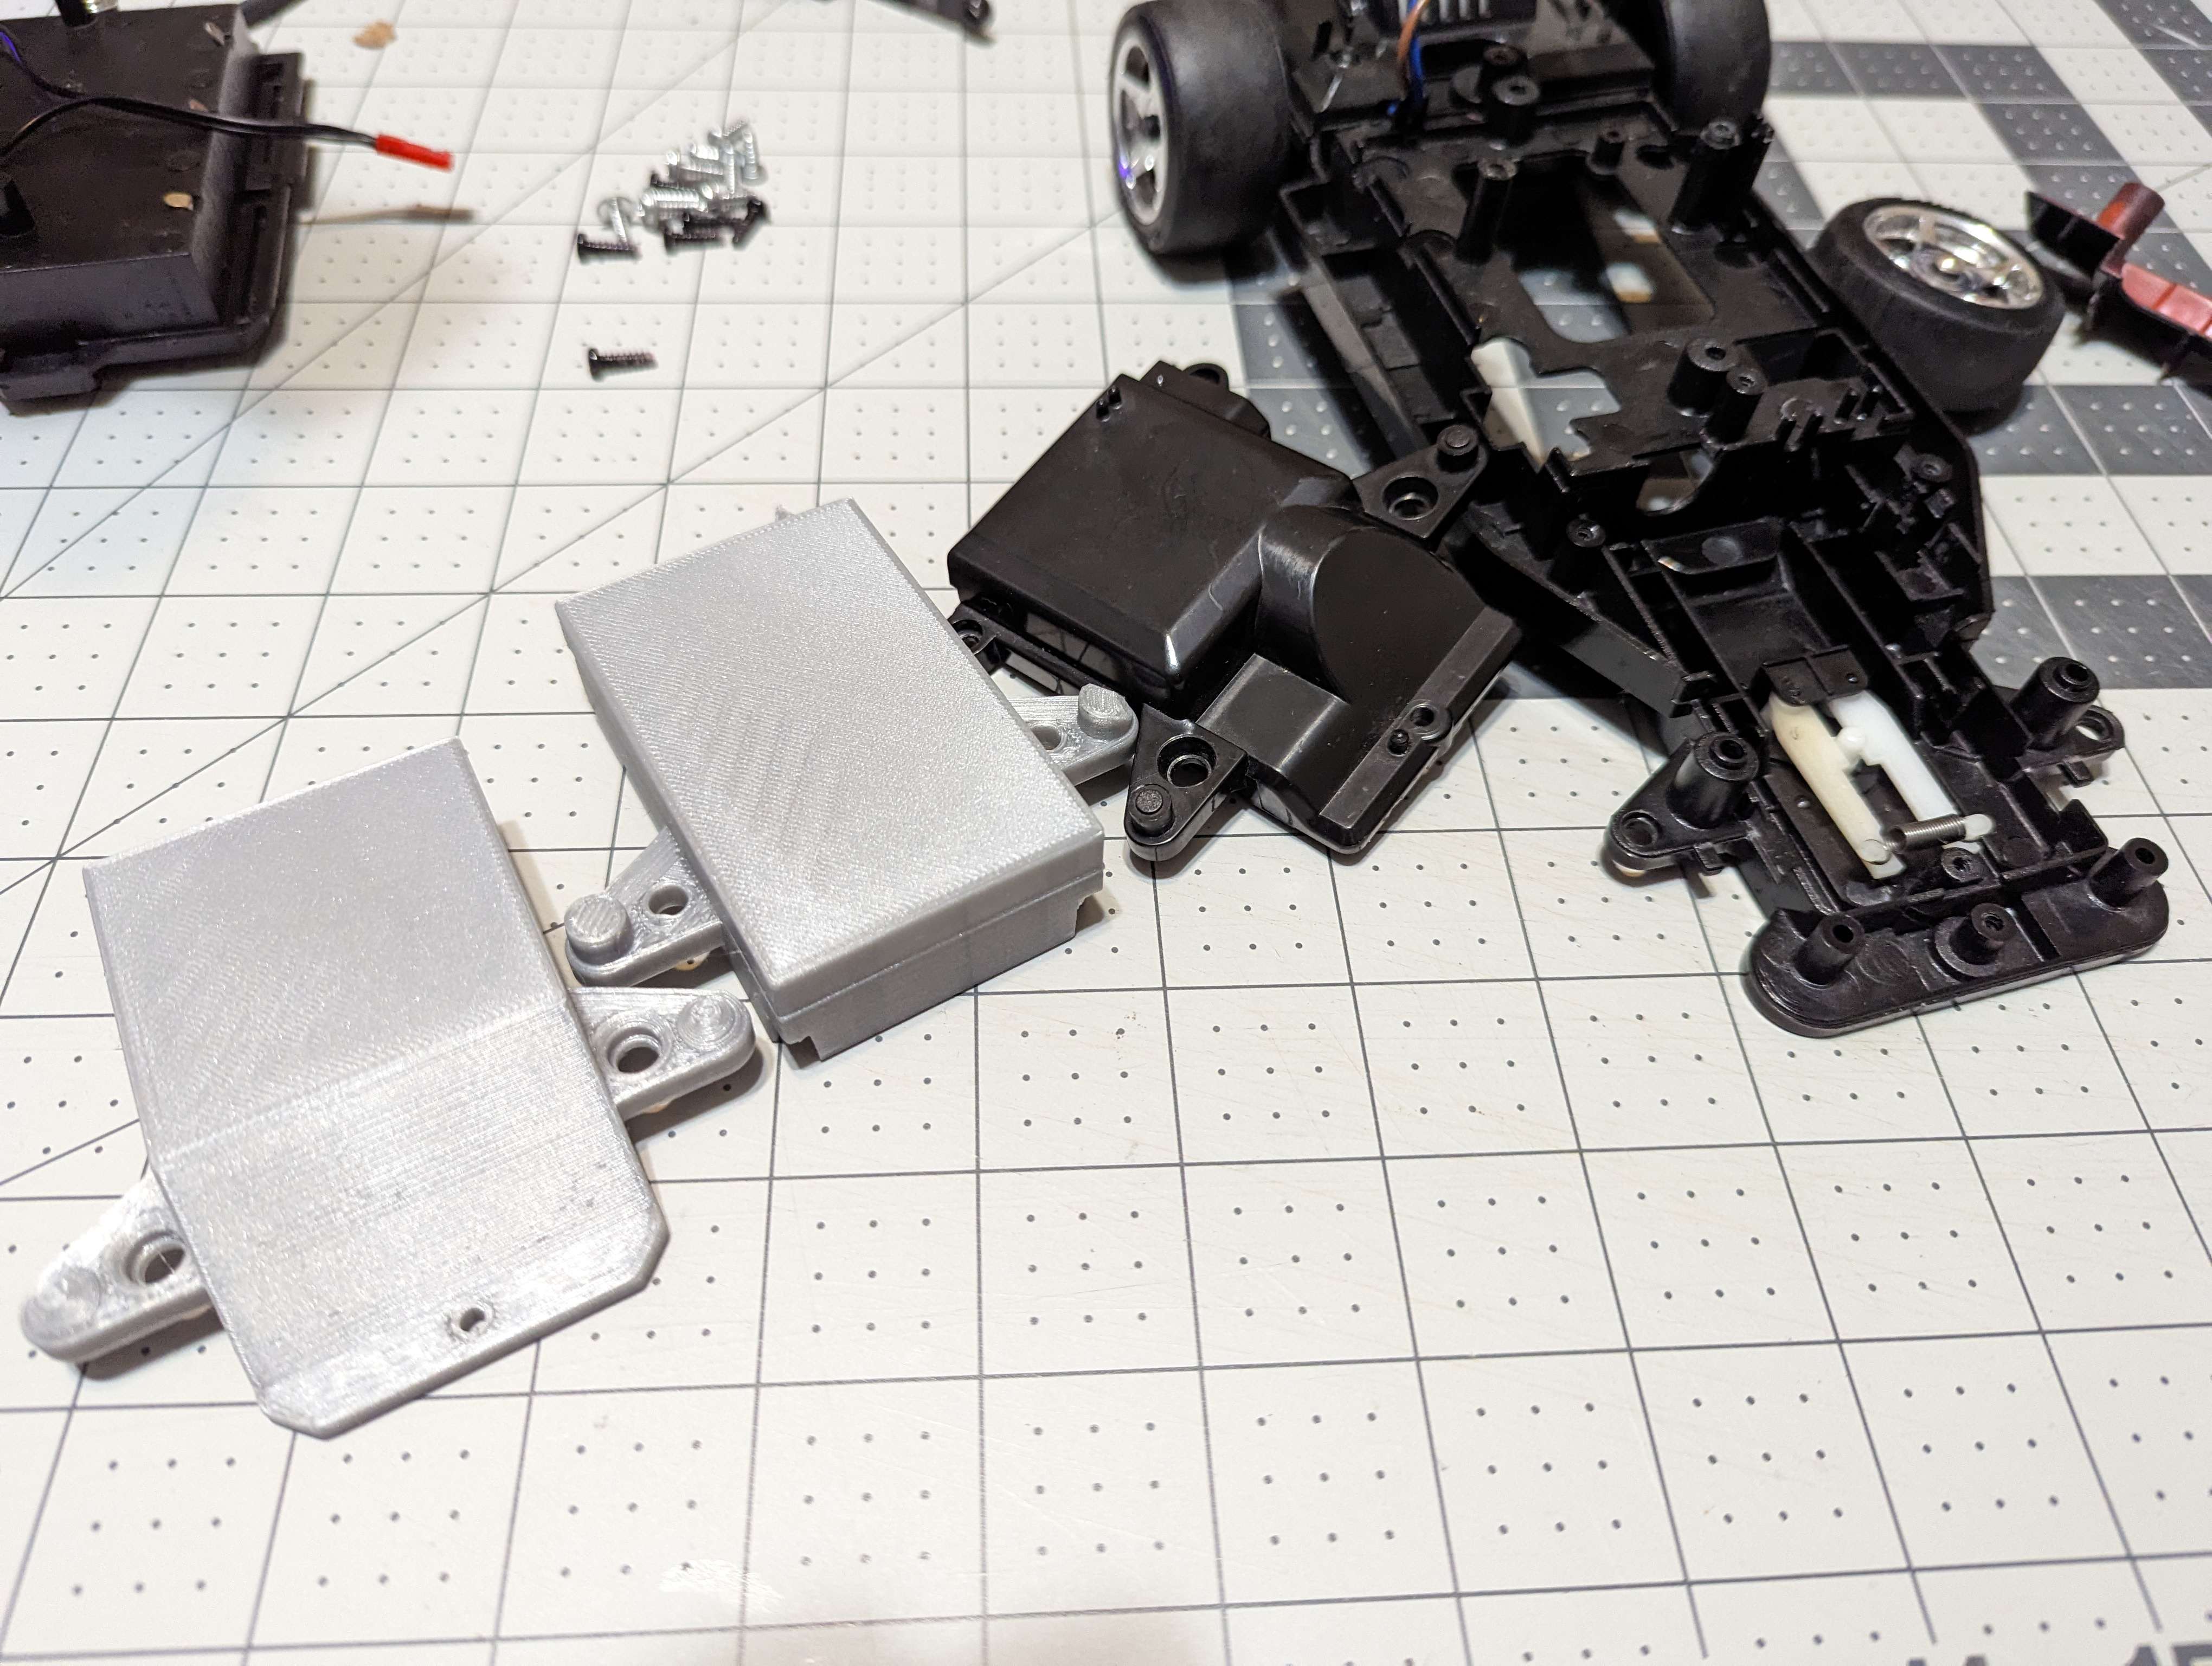
Look forward to Part 2 where I finalized the 3D printed front cover and a mount for the new steering servo...
Yes.. there was MANY more revisions after these ones, It took many many more before I got to a design that fit well and that I was happy with..